
How to Configure Print Settings on a Mini Handheld Inkjet Printer? (Easy User Guide)


If you have recently purchased a Mini Handheld Inkjet Printer and are confused about its settings, this guide is just for you. The best part about this printer is that it does not require a computer or a mobile app to operate. You can easily manage all settings directly from its built-in touchscreen.
Let’s learn how to set up text, dates, QR codes, and optimize print quality on this device.
⚙️ Understanding the Main Menu
As soon as you turn on the printer, you will see 4 main options at the top of the screen:
File: Use this to save your created print designs or load previously saved ones.
Edit: Use this to write or add new text, dates, or codes.
Setting: Use this to adjust print darkness, speed, language, and nozzle settings.
Print: Click this to start printing once your settings are finalized.
📝 Step-by-Step Print Settings (How to Set Content)
1. How to Write Text or Names (Add Text)
First, click the Edit button on the screen.
Select Add Text or Text from the options below.
An on-screen keyboard will pop up. Type your name, batch number, or company name, and press OK.
You can drag the text across the screen using your finger or the stylus pen to position it perfectly.
2. How to Add Automatic Manufacturing and Expiry Dates (Add Date/Time)
If you want the date to change automatically every day, do not type it manually:
Go to the Edit menu and click on Add Time or Date.
Select your preferred date format (e.g., DD-MM-YYYY).
Once selected, the printer will automatically print the correct current date every day.
3. How to Generate QR Codes or Barcodes (Add QR Code / Barcode)
Go to the Edit menu and select Add QR Code or Barcode.
A text box will appear. Type your website link, mobile number, or product code inside it.
Press OK, and a QR code will be generated automatically on the screen.
🛠️ Print Quality and Darkness Adjustment (Print Settings)
If the print output looks too light or blurry, go to the Setting menu and make the following adjustments:
Print Density / Darkness: This can typically be adjusted from 1 to 5 or 1 to 9. If the print is too light, increase this value.
Font Size / Height: Adjust this setting to change how big or small you want the letters to be (ranging from 2mm up to 12.7mm).
Direction Setup: You can choose whether you want to print from Right to Left or Left to Right depending on your hand movement.
🚀 How to Print Perfectly
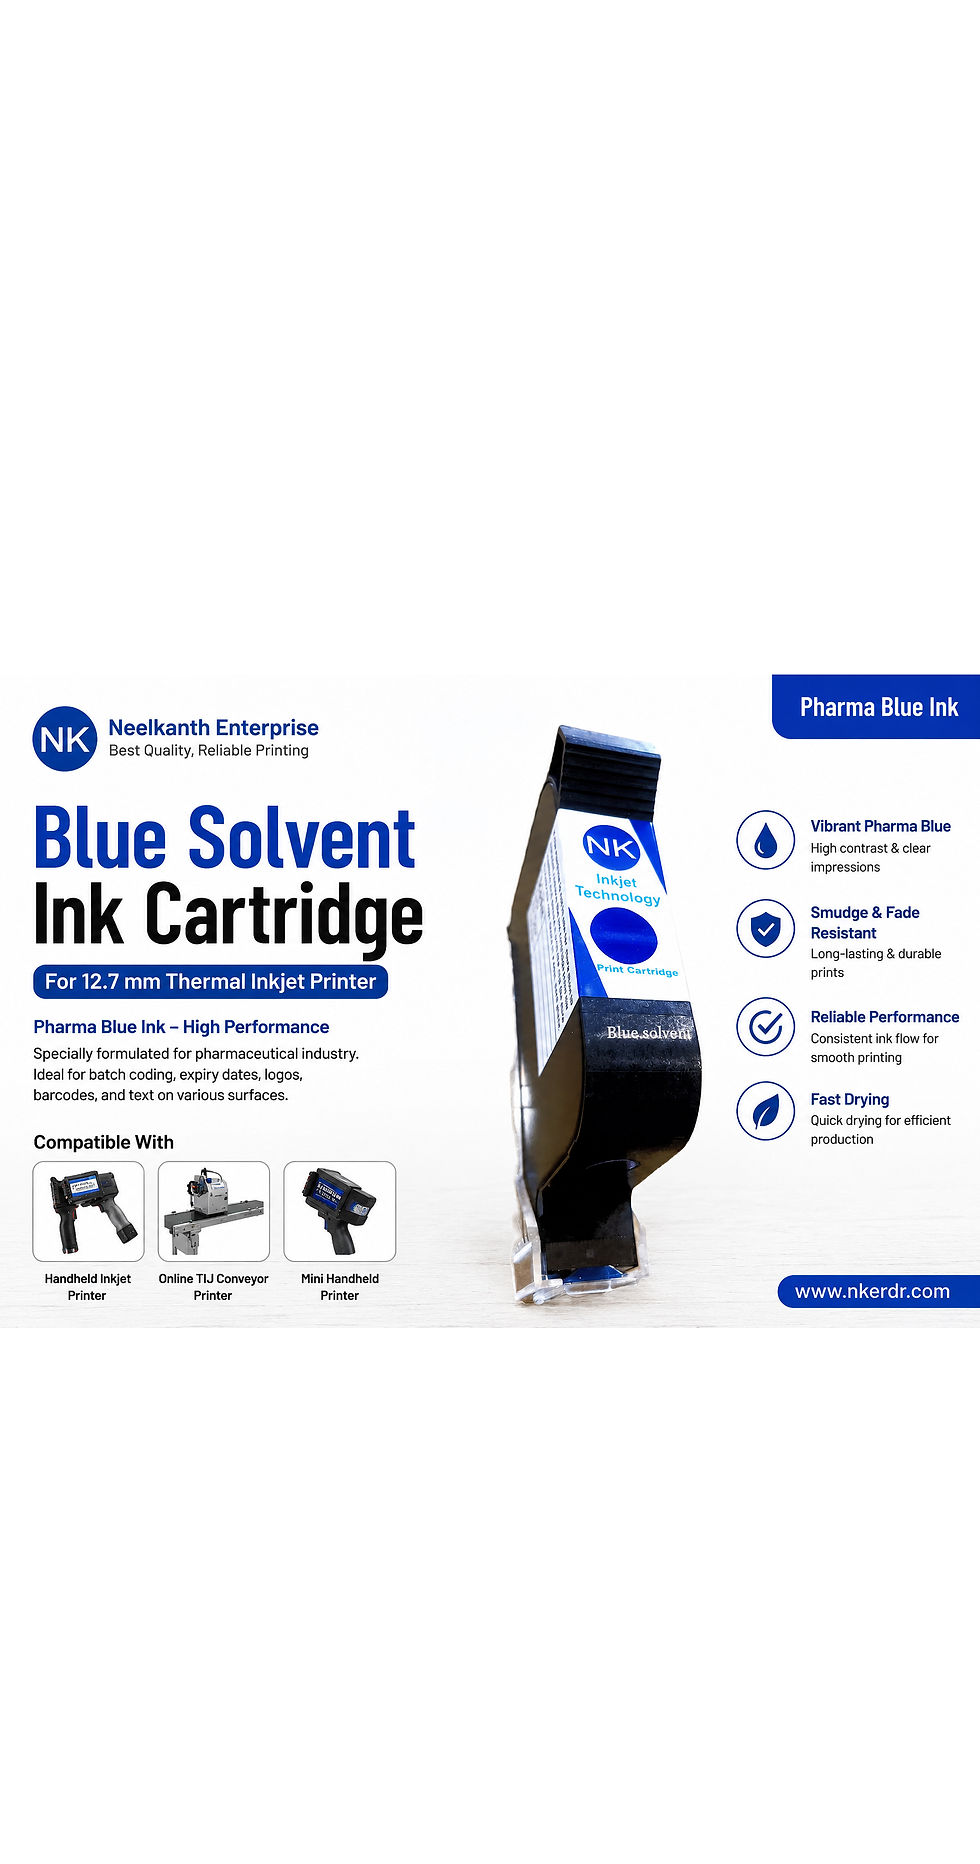
Insert the Ink Cartridge: Turn off the printer first, then securely slide and lock the ink cartridge into its slot.
Give the Print Command: Click the Print button on the screen. The screen status will change to 'Printing'.
Press the Button and Roll: Place the printer flat against the surface (like a box or bottle). Press the silver/red physical button on the handle once, and smoothly slide (roll) the printer to the right.
💡 Important Maintenance Tips for Buyers
Prevent the Cartridge from Drying Out: Whenever you are not using the printer—even for just 10 minutes—remove the ink cartridge and clip its plastic protective cap back on. Otherwise, the ink will dry up, and the nozzle will clog.
Cleaning: If you notice blank lines appearing in your print, gently wipe the cartridge nozzle with a clean, lint-free tissue paper.
Would you like to add any sections on how to upload a custom logo via USB or include a troubleshooting section for common errors?


Comments